How to Install the Ring Floodlight Cam Wired Plus : A Step-by-Step Guide
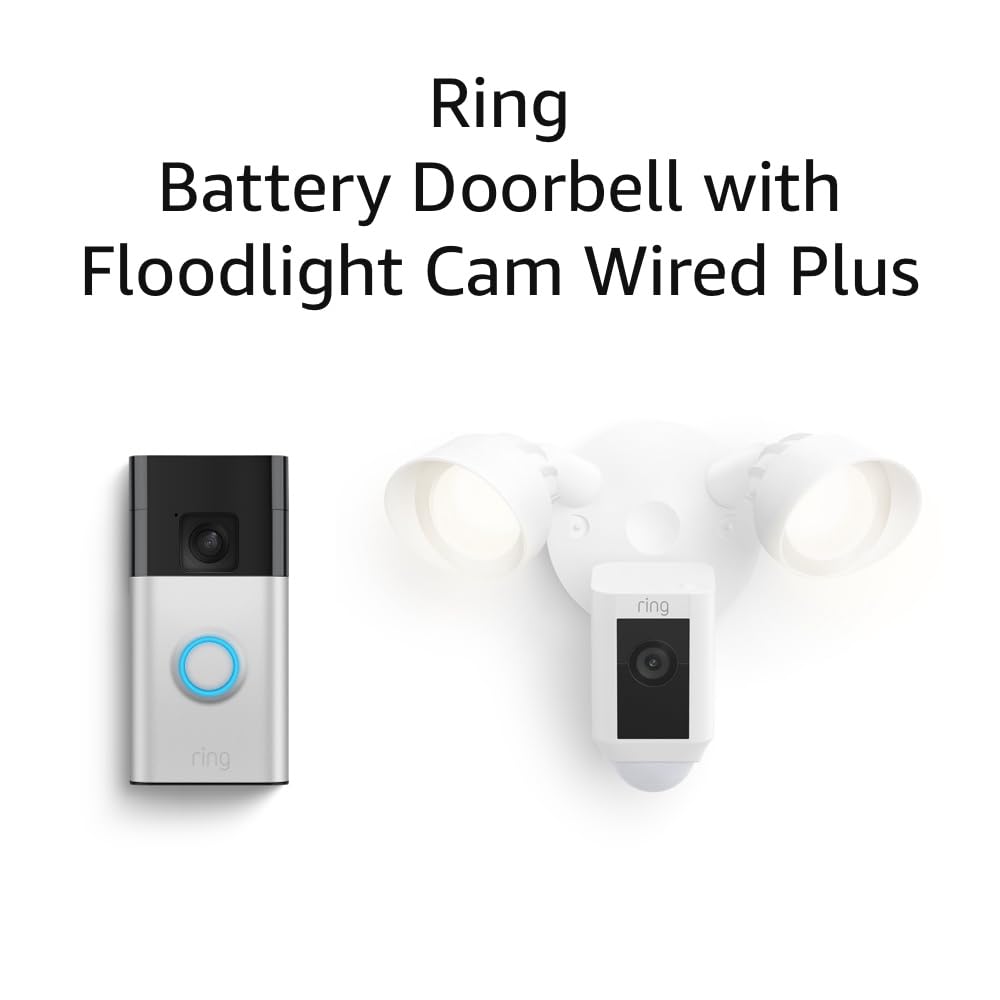
The Ring Floodlight Cam Wired Plus is a powerful home security solution that combines motion-activated HD video, bright LED floodlights, a built-in siren, and two-way audio. With the added benefit of Alexa compatibility, it’s a smart upgrade for any home. This article walks you through the installation process—whether you’re a DIY enthusiast or a first-timer.
⚠️ Before You Start
Safety First: This device is hardwired, so basic knowledge of electrical wiring is required. If you’re uncomfortable working with electrical systems, it’s best to hire a licensed electrician.
Tools You’ll Need:
- Phillips and flathead screwdriver
- Ladder
- Power drill (if drilling new holes)
- Voltage tester
- Wire stripper (optional but helpful)
Step 1: Turn Off Power at the Breaker
Before touching any wires, turn off power to the existing floodlight or junction box from your home’s breaker panel. Use a voltage tester to confirm the power is off.
Step 2: Remove Your Old Fixture
If replacing an existing light:
- Unscrew and remove the old fixture.
- Carefully disconnect the wiring (black/hot, white/neutral, and ground wires).
- Ensure the electrical box is securely mounted to a wall or eave and is compatible with the Ring Floodlight Cam.
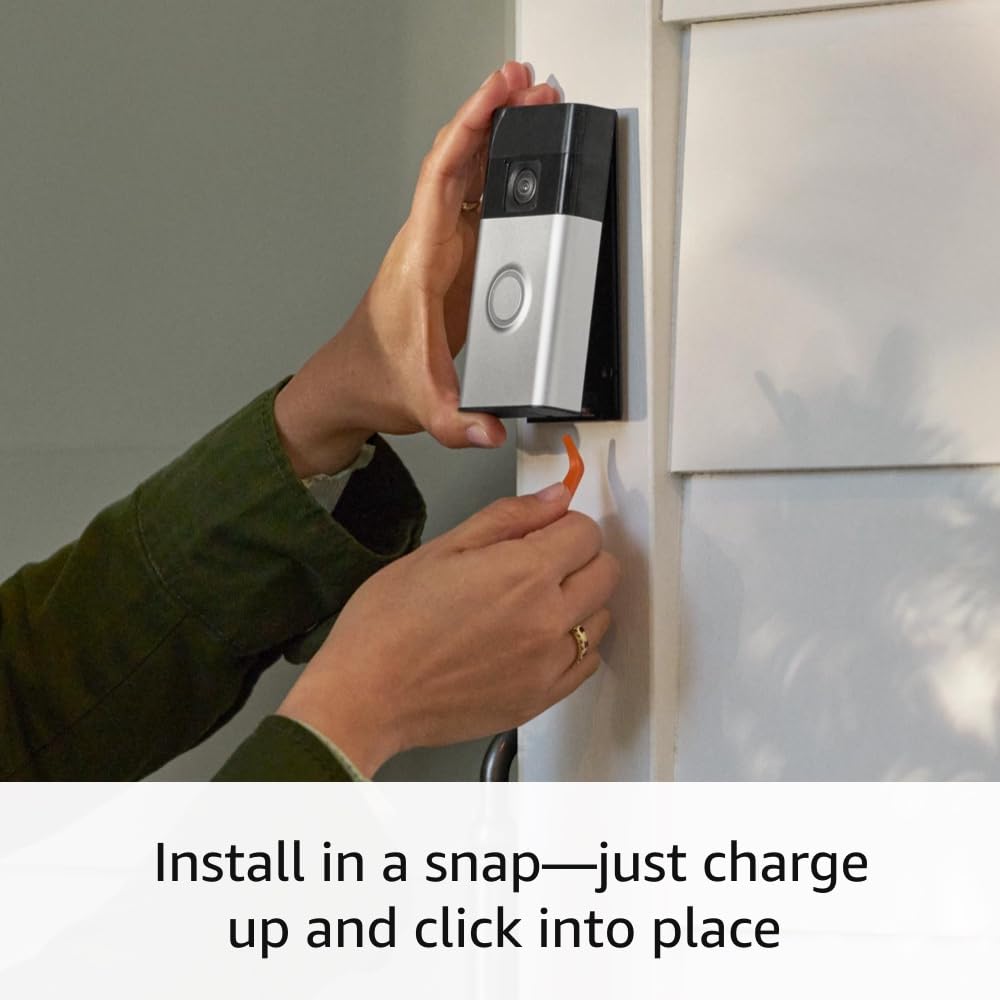
Step 3: Mount the Bracket
The Ring Floodlight Cam comes with a mounting bracket. Attach this to your existing junction box using the provided screws.
Tip: The bracket is designed to work on standard 4″ round weatherproof boxes.
Step 4: Connect the Wiring
Use the included wire nuts to connect the following:
- Black to Black (hot)
- White to White (neutral)
- Green/Yellow or Bare Copper to Ground
Secure all connections and tuck wires carefully into the electrical box.
Step 5: Attach the Camera
- Align the camera’s base with the mounting bracket.
- Use the included screws to fasten it securely in place.
- Adjust the two floodlights and the camera angle to cover your desired area.
Step 6: Restore Power & Set Up the App
Turn power back on at the breaker.
- Download the Ring app from the App Store or Google Play.
- Create or log in to your Ring account.
- Tap “Set Up a Device” and select Floodlight Cam Wired Plus.
- Follow in-app prompts to connect the camera to your Wi-Fi network.
- Customize your settings: motion zones, light schedules, alerts, and more.
Step 7: Test Your Camera
Walk in front of the camera to trigger the motion sensor and floodlights. Use the app to view live video, speak through the two-way audio, and activate the siren if needed.
Installation Tips
- Mount Height: Ideally, install 8–10 feet off the ground for optimal motion detection.
- Wi-Fi Signal: Ensure your Wi-Fi signal is strong at the installation point. You may need a Wi-Fi extender.
- Weatherproofing: The camera is outdoor-rated, but ensure connections are secure and waterproof if exposed.
Final Thoughts
Installing the Ring Floodlight Cam Wired Plus is a relatively straightforward process for most DIYers. With proper safety precautions and a little patience, you’ll have a high-powered security solution protecting your home in no time. The combination of bright lighting, smart surveillance, and app control makes it one of the best investments for peace of mind. Thanks for read it. Hope you will be able to install it now.
Leave a Reply