Security cameras help keep your home safe. Night Owl is a popular brand for wired security cameras. Installing these cameras may seem hard. But, with some simple steps, you can do it yourself.
What You Need Before Starting
Before you start, make sure you have all the tools and parts. This will make the job easier and faster.
- Night Owl wired security camera kit
- A monitor or TV to view footage
- Power supply adapter for cameras
- Ethernet cables or coaxial cables (depending on your model)
- Screwdriver (usually Phillips head)
- Drill and drill bits for mounting
- Measuring tape or ruler
- Extension cords if needed
- Pen and paper for notes
Step 1: Plan Your Camera Locations
Think about what you want to watch. Good spots are near doors, windows, or driveways. Cameras should cover important areas.
Try to avoid pointing cameras at the sun. This can cause glare and poor pictures. Also, place cameras where wires can reach easily.
Step 2: Check the Camera and Cable Types
Night Owl wired cameras use different cables. Some use coaxial cables, others use Ethernet cables. Check your camera type in the manual.
Make sure your cables are long enough. You may need extra cables to reach your camera spots.
Step 3: Mount the Cameras
Use the mounting brackets that come with your cameras. Hold the bracket on the wall or ceiling where you want the camera.
Mark the screw holes with a pencil. Drill holes for the screws carefully. Then, attach the bracket with screws.
After the bracket is fixed, attach the camera to it. Adjust the camera angle to cover the area you want.
Step 4: Run the Wires
Run the camera cables from each camera to your security system box or DVR. Keep cables neat and hidden if possible.
You can use clips or cable covers to keep cables tidy. Avoid running cables where they can get damaged.
For outdoor cameras, use weatherproof cables and connectors. This helps protect from rain and sun.

Credit: www.amazon.ca
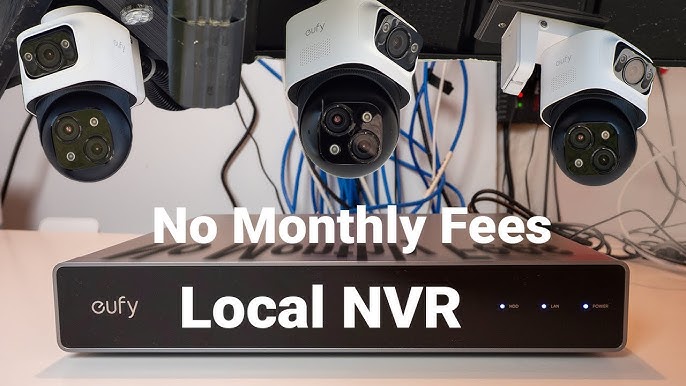
Step 5: Connect Cameras to the DVR
Each camera cable plugs into a port on the DVR. The DVR is the main device that records videos.
Plug each cable firmly into the right port. Check the labels on ports and cables to match them correctly.
Step 6: Connect the DVR to a Monitor
Connect the DVR to a monitor or TV. Use HDMI or VGA cable depending on your monitor.
This lets you see live video and recordings. Make sure the monitor is near the DVR or use a long cable.
Credit: www.youtube.com
Step 7: Power Up the System
Plug the power adapter into the DVR. Then, connect power to each camera. Some cameras get power through the cable (PoE).
Turn on the power and wait for the system to start. The DVR screen should show the camera views.
Step 8: Adjust Camera Settings
Use the DVR remote or mouse to open the menu. Set the date and time correctly.
You can also set motion detection and recording schedules. This helps save storage space.
Adjust camera brightness, contrast, and other image settings if needed.
Step 9: Test Each Camera
Walk in front of each camera to check if it records. Look for clear images and proper angles.
If a camera view is not good, adjust its angle or position.
Step 10: Secure Your System
Change the default password on your DVR. Use a strong password to protect your system.
Keep the DVR in a safe place, out of easy reach.
Tips for Better Installation
- Label each cable to know which camera it belongs to.
- Test cables with a cable tester if you have one.
- Use a ladder safely when mounting cameras high.
- Check local laws about camera placement to respect privacy.
- Keep a backup of your video recordings if possible.
Common Problems and How to Fix Them
| Problem | Possible Cause | How to Fix |
|---|---|---|
| No video on the monitor | Loose cable connection | Check and firmly connect cables |
| Camera image is dark | Wrong camera angle or poor lighting | Adjust camera angle; add lights if needed |
| DVR won’t turn on | Power not connected properly | Check power cords and outlet |
| Motion detection not working | Settings not enabled | Enable motion detection in menu |
Frequently Asked Questions
How Do I Connect Night Owl Cameras To The Dvr?
Plug each camera’s video cable into the DVR’s video input ports. Power the cameras using their adapters.
What Tools Are Needed For Installation?
A drill, screwdriver, ladder, and cable clips help install cameras securely and neatly.
Can I Install Night Owl Cameras Outdoors?
Yes, most Night Owl wired cameras are weatherproof and fit for outdoor use.
How Long Are The Camera Cables?
Standard Night Owl camera cables are usually 60 feet long, enough for most homes.
Conclusion
Installing Night Owl wired cameras is simple when you follow steps. Planning and preparation are key. Take your time mounting and connecting cameras.
With a secure system, your home will be safer. You can watch live video and check recordings anytime.
Remember to keep your system updated and maintain it regularly. This helps your cameras last longer and work better.
Now, you are ready to protect your home with Night Owl wired security cameras.